
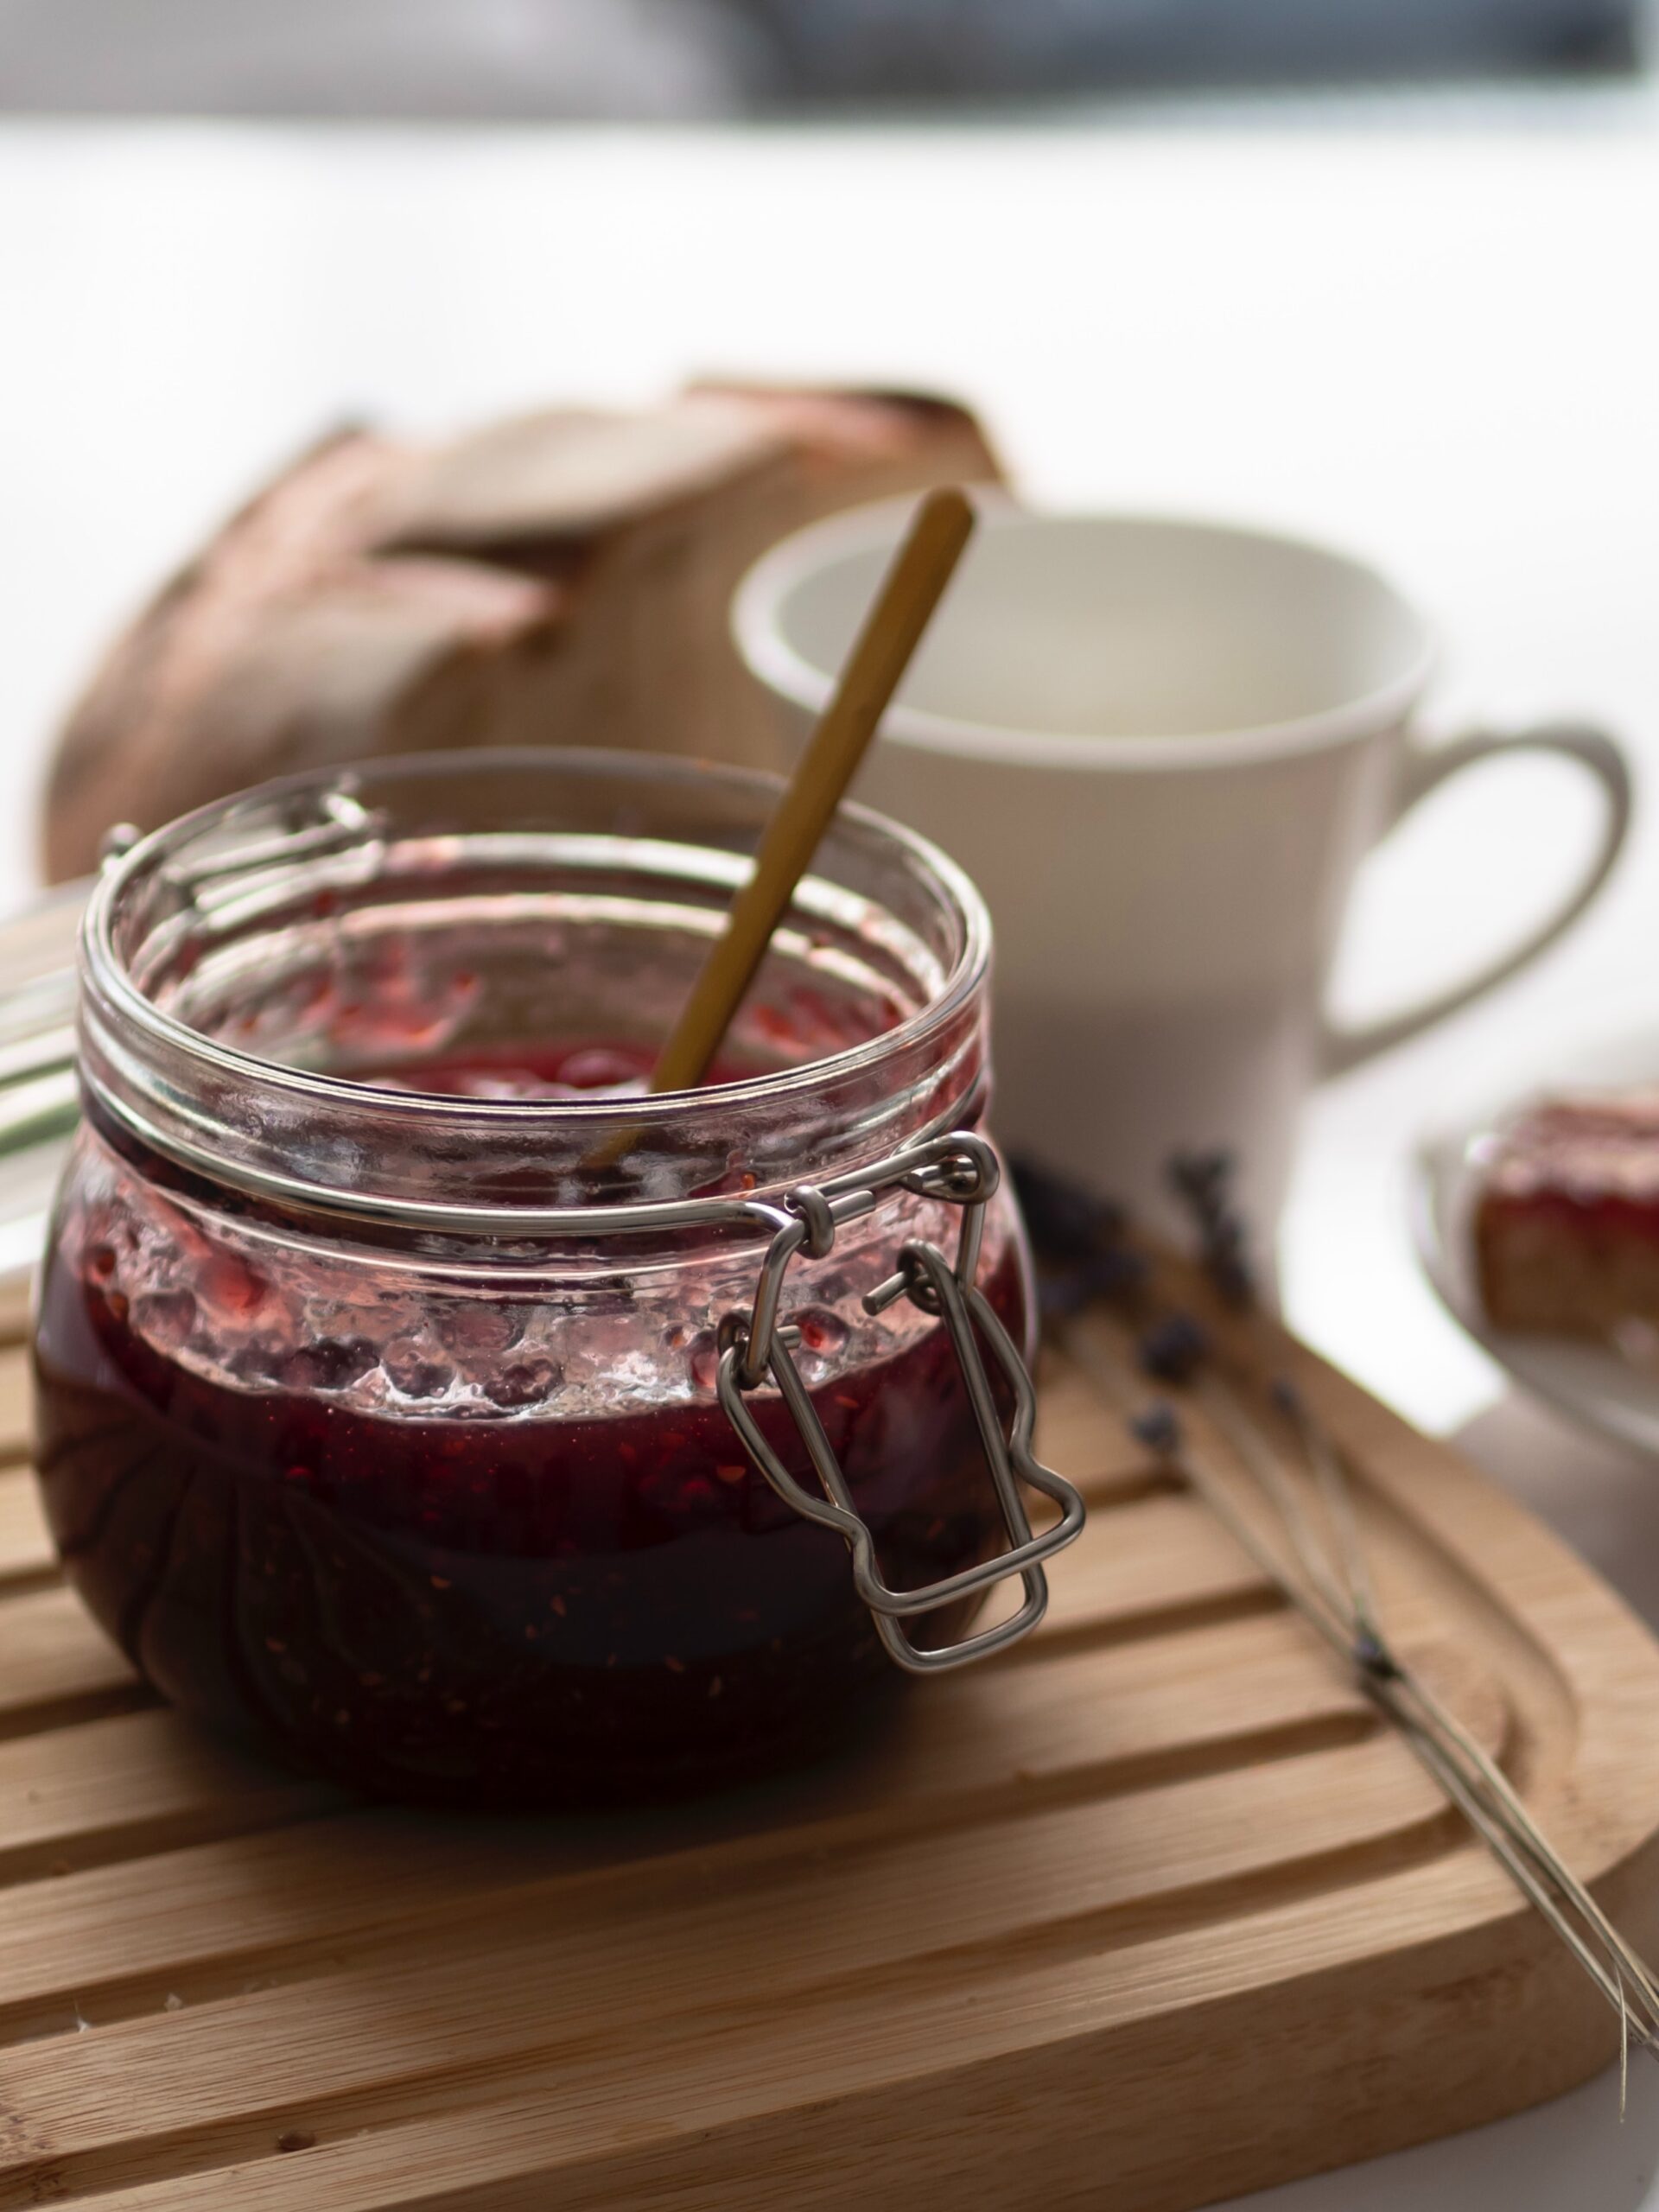
Simple Homemade Jam
There is no substitute for authentic homemade Jam! The store-bought is filled with lots of additives and preservatives. Once you taste homemade Jam, anything else would not be worth the calories. When berries are in season, this is a great recipe to try. This is also a wonderful gift for friends and family. Enjoy!
Servings: 10
Calories: 37kcal
Equipment
- 1 Medium pot
Ingredients
- 2 lbs 2 tbsp lemon 2 lbs or 900 grams
- 1 + ¼ cup granulated sugar 1 + 1/4 cup or 250 grams
- 2 tbsp lemon juice 2 tbsp or 30 ML
Instructions
1. Prepare mason jars - boil in hot water for about 10 minutes or in the dishwasher on sterilizing, soap not needed. Wash, hull, and roughly chop the strawberries.
2. Add the chopped strawberries, sugar, and lemon juice to a large pot. Place over medium-high heat.
3. Stirring frequently, bring the berries to a boil. Reduce the heat to medium-low to keep the berries at a simmer.
4. Let the jam simmer for about 45 minutes, frequently stirring, until the jam is thick and syrupy and reaches 220F on a candy thermometer.
5. Check to see if it's ready by adding a small drop to the frozen plate. Return it to the freezer. After a few minutes, check the consistency. Remove the jam from the heat if it's thickened to your liking or continue simmering until desired consistency.
6. When it’s done, pour the jam into a mason jar and chill overnight.
Notes
- Using granulated sugar, not Splenda or another sugar substitute, allows the jam to be set correctly.
- Allow the jam to cool fully before refrigerating to avoid condensation in the jars.
- You can use an immersion blender to puree the jam if you want a smoother texture.